Warhammer 40k Jungle Terrain: Tree Stump Bunker and Toppled Rock Spire

A hollow giant tree trunk converted to a bunker and a toppled rocky spire

With a few pieces of jungle-themed terrain in the collection and working out really well in games, I decided I needed a couple of larger, line-of-sight blocking pieces to add some variety to the kinds of terrain that can be used and allow for denser terrain layouts. To make big natural looking features, I opted for carved insulation foam with my old (probably 15+ years since it's last use) how wire cutter. It's a simple setup running a piece of nichrome wire across an L shaped bow - gets a wide cut and lets you do gradual slopes on big pieces, and I power it with a benchtop variable power supply. The 14" or so piece of wire (unknown gauge, I believe it's the Woodland Scenics packed, originally) heats up to cut around 7-8V, but I ended up running at 12V to allow for cleaner cuts (faster melting means less streaks in the finish too) and it takes up a little over 100mA per volt, so a fixed 12V 1.5A supply would suffice for my custom bow and ones like it. I took pictures along the way to get a bunch of the intermediate steps, so I'll outline the way I built them up and a couple tweaks I'll probably make to the process in the future!

Straight from the sheet. Starting to look like rocks. The final sculpt.

A block of foam made from a sheet of foam. A general shape to the outside. A general hole in the middle. Thinner, smoother, and more pronounced.

Carving for both pieces started with a stack of foam sheets stuck together with some pins (nails and plastic rods). You start carving off pieces to get a general shape, then a general texture, then you take a look and see if it fits the general look you're going for or whether it will be the size you want, etc. I decided that the second stage of the rocks needed more texturing work, but also needed to look less like the stack of sheets it was coming from, so I did some trimming in other dimensions and rounded some chunks to hide that. With the tree stump, I ended up moving the pins holding it together several times and putting it back together imperfectly ended up making ridges along the sheets which came through all the way to the end - not too bad, but not what I was hoping for. If I had planned it out better, I could have put the pins in strategic places and not moved them, or I could have found a glue that the wire cutter would handle and just glue the sheets together. The melting gives a little bit of adhesion between sheets, but the slight slipping affects the drybrushing and is especially obvious under top-down lighting. Even with a fairly thick covering and some sanding, they still show through!.

Covered in gesso and texture on the base. A basecoat applied by airbrush. The rocks all painted up. The stump bunker all painted up.

To finish off the sculpts, I cast some plaster and PVA mixture on a sheet of glass, then broke up the result to give me some flat, slate-like rock pieces to add some detail and some debris from the toppling of the spire. On the stump, I filled in some gaps and some space I wanted different with some cellulose based, minimal-shrinkage modelling clay. I then scuffed up the polystyrene sheet bases with rough sandpaper and glued on the foam using a multisurface white glue - acts a lot like PVA, but seems to adhere better. From there, I covered the foam parts in two coats of regular gesso - it's somewhat flexible so it is less likely to flake off and it adheres both to the foam and to paint well. Then I did my usual PVA + water mixture to hold down a mix of sand and modelling ballasts for a ground texture.

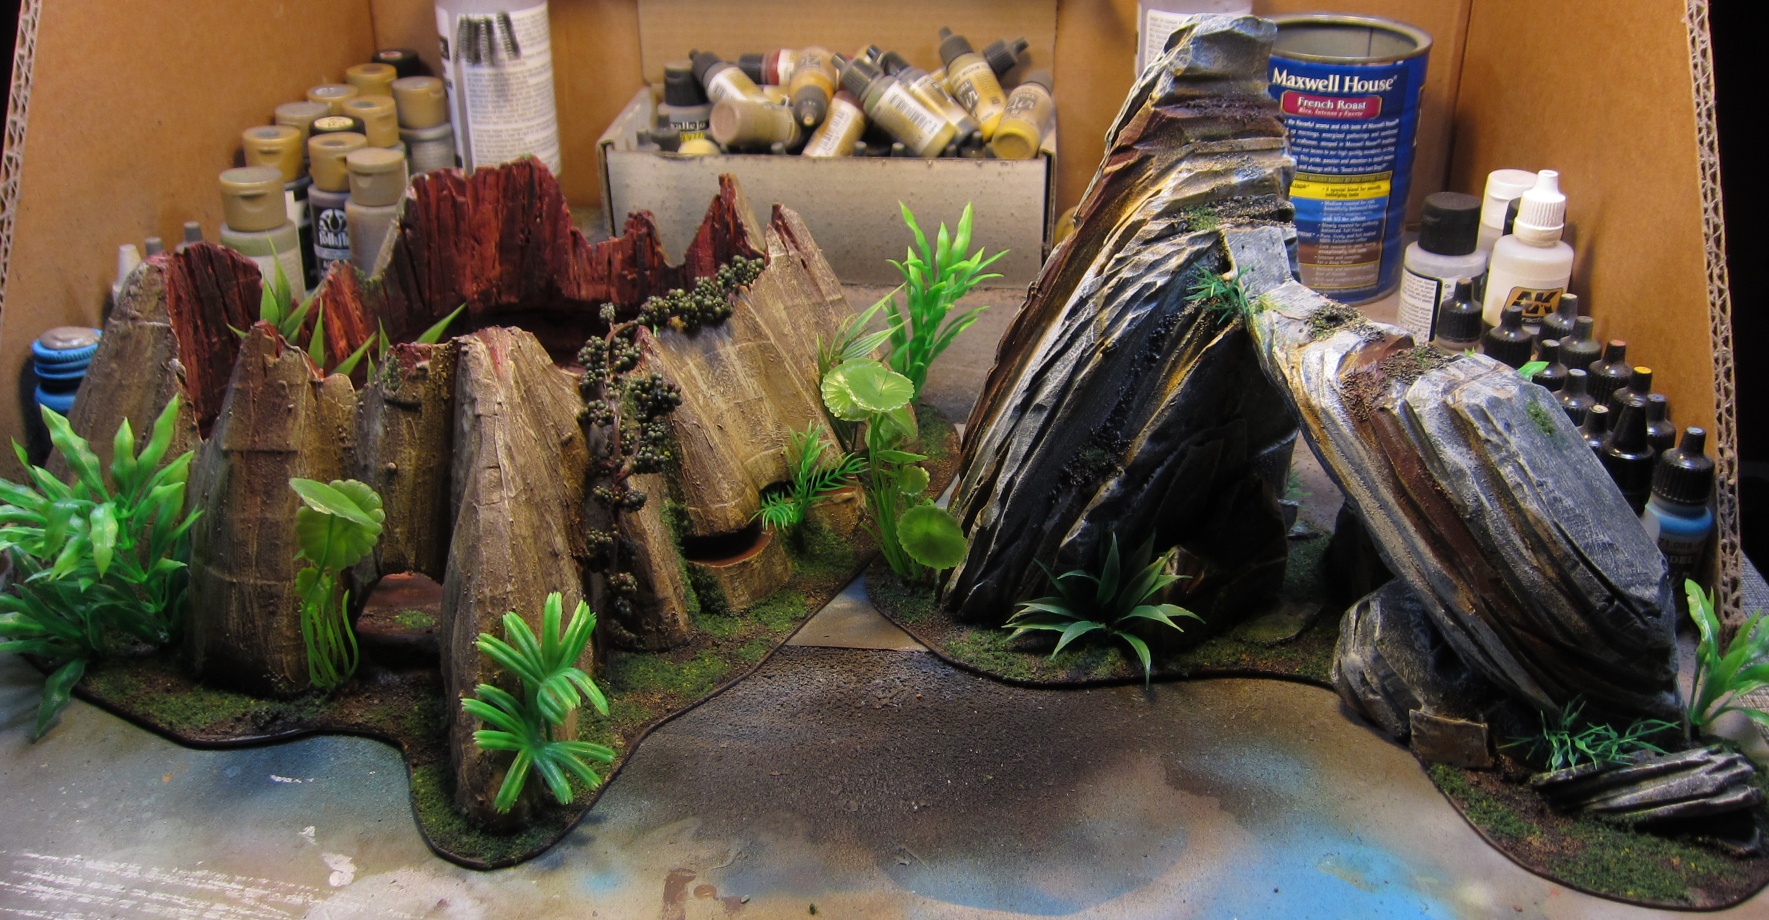
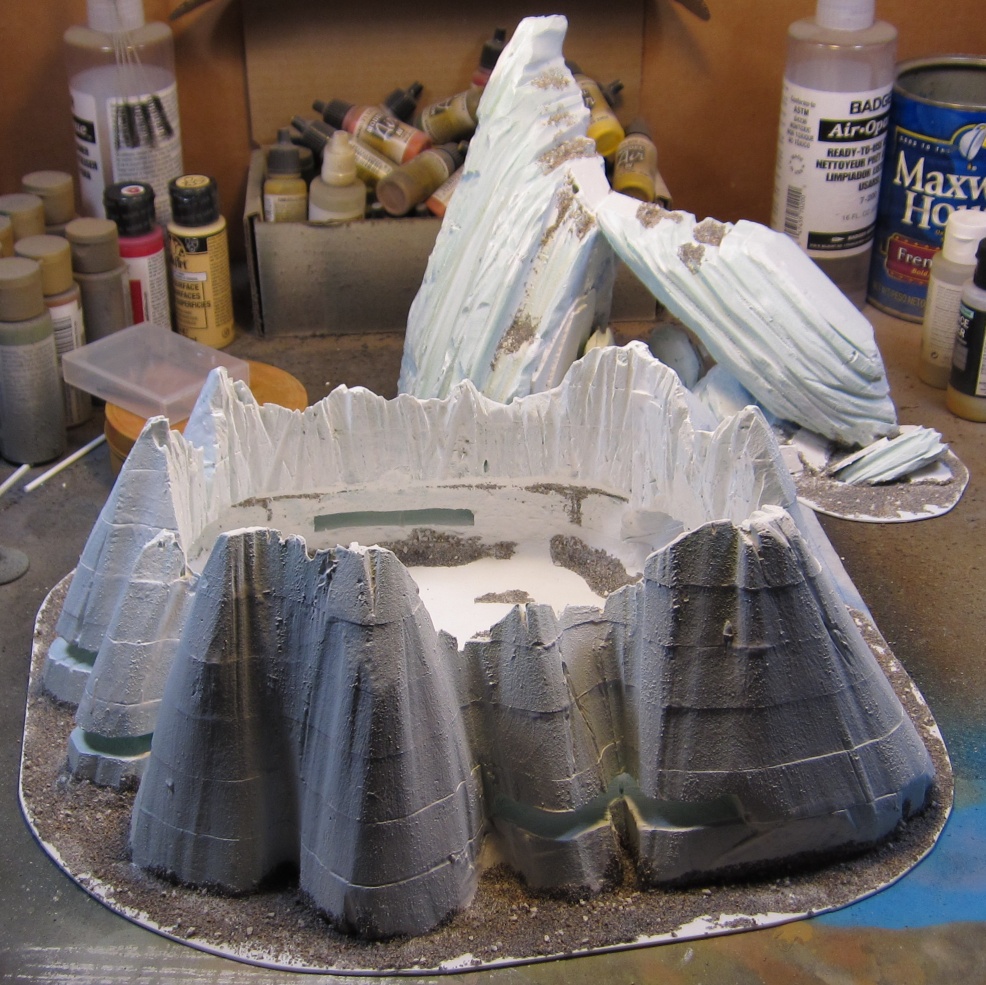
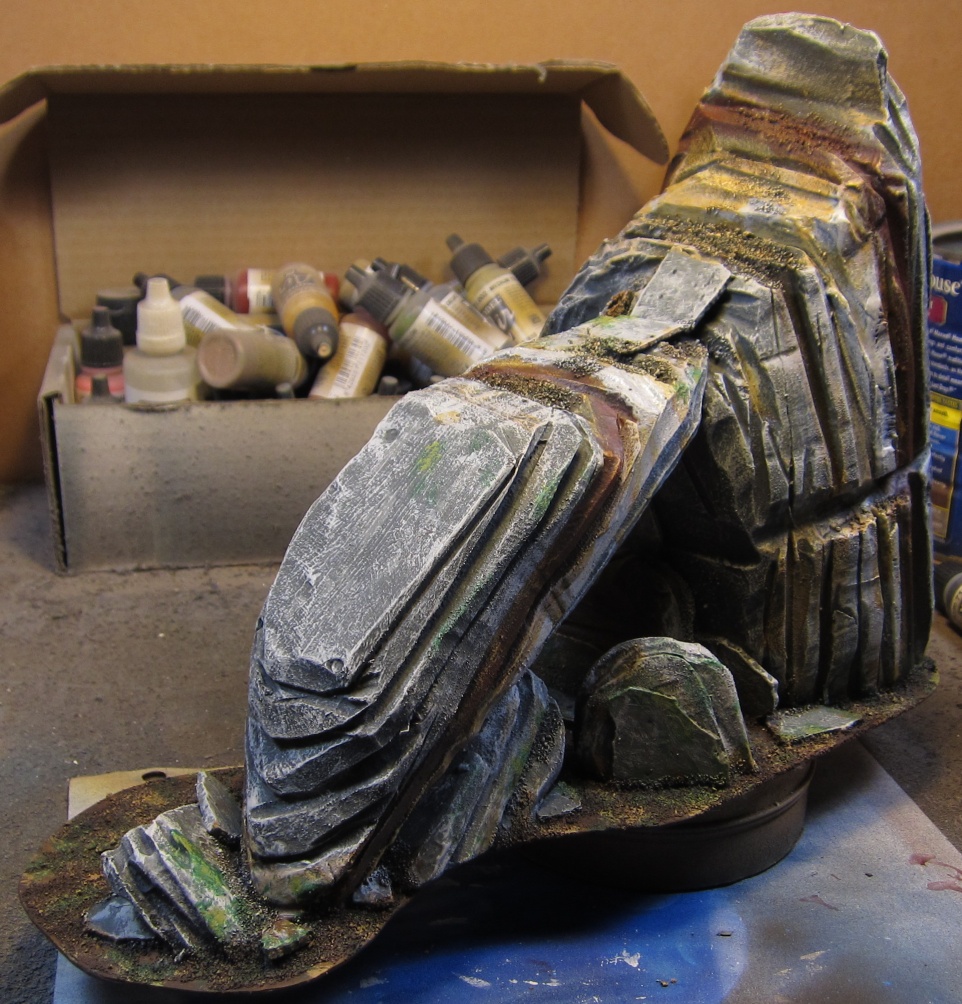
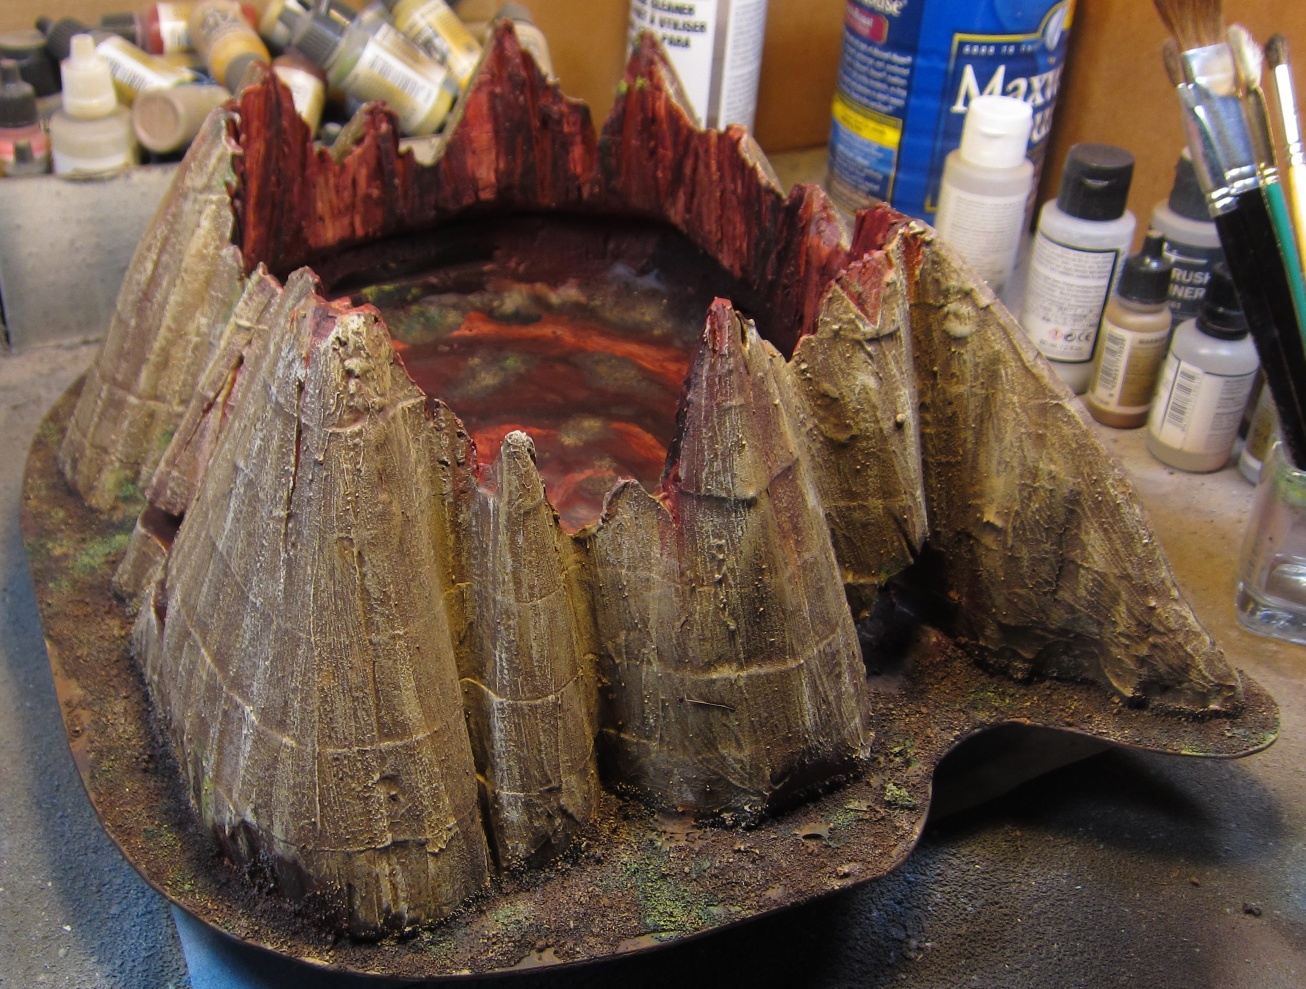
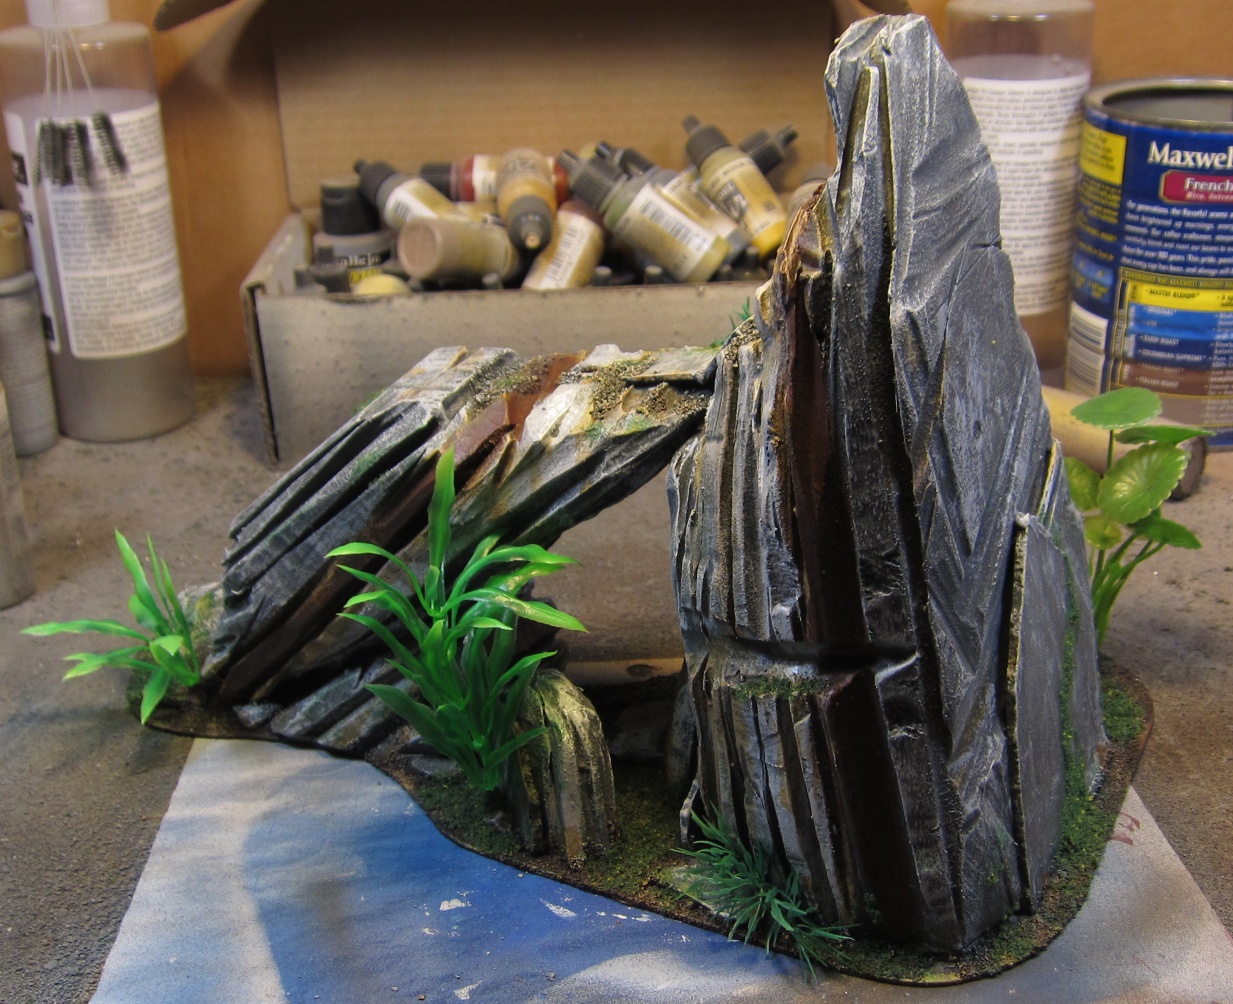
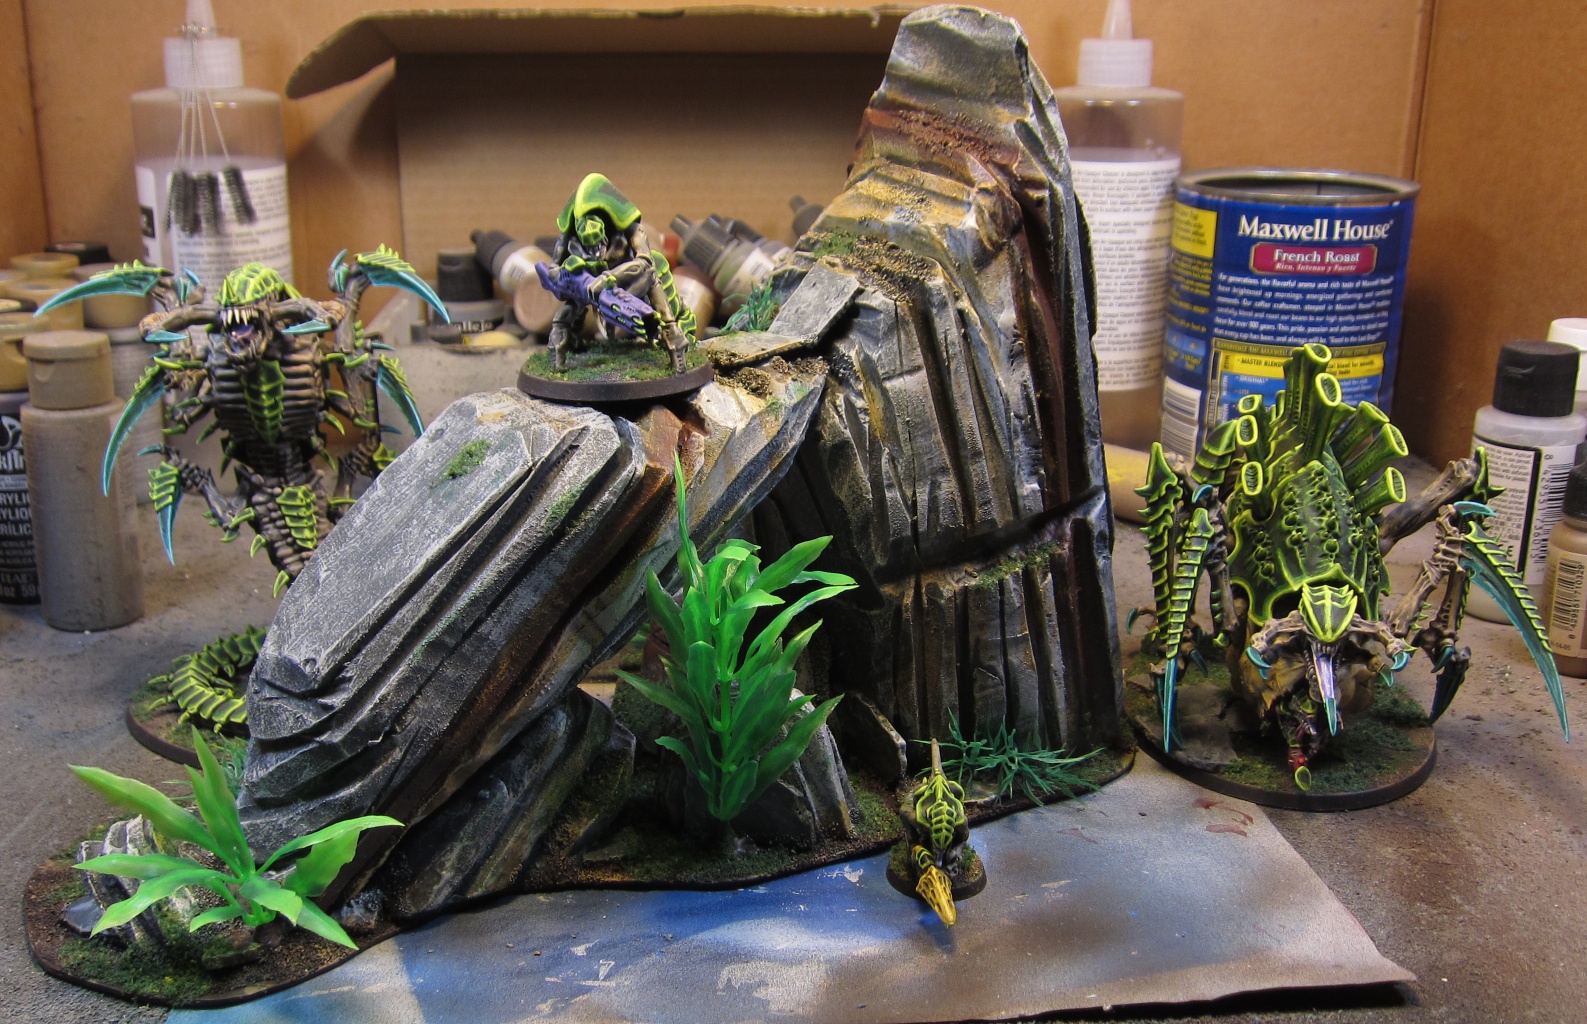
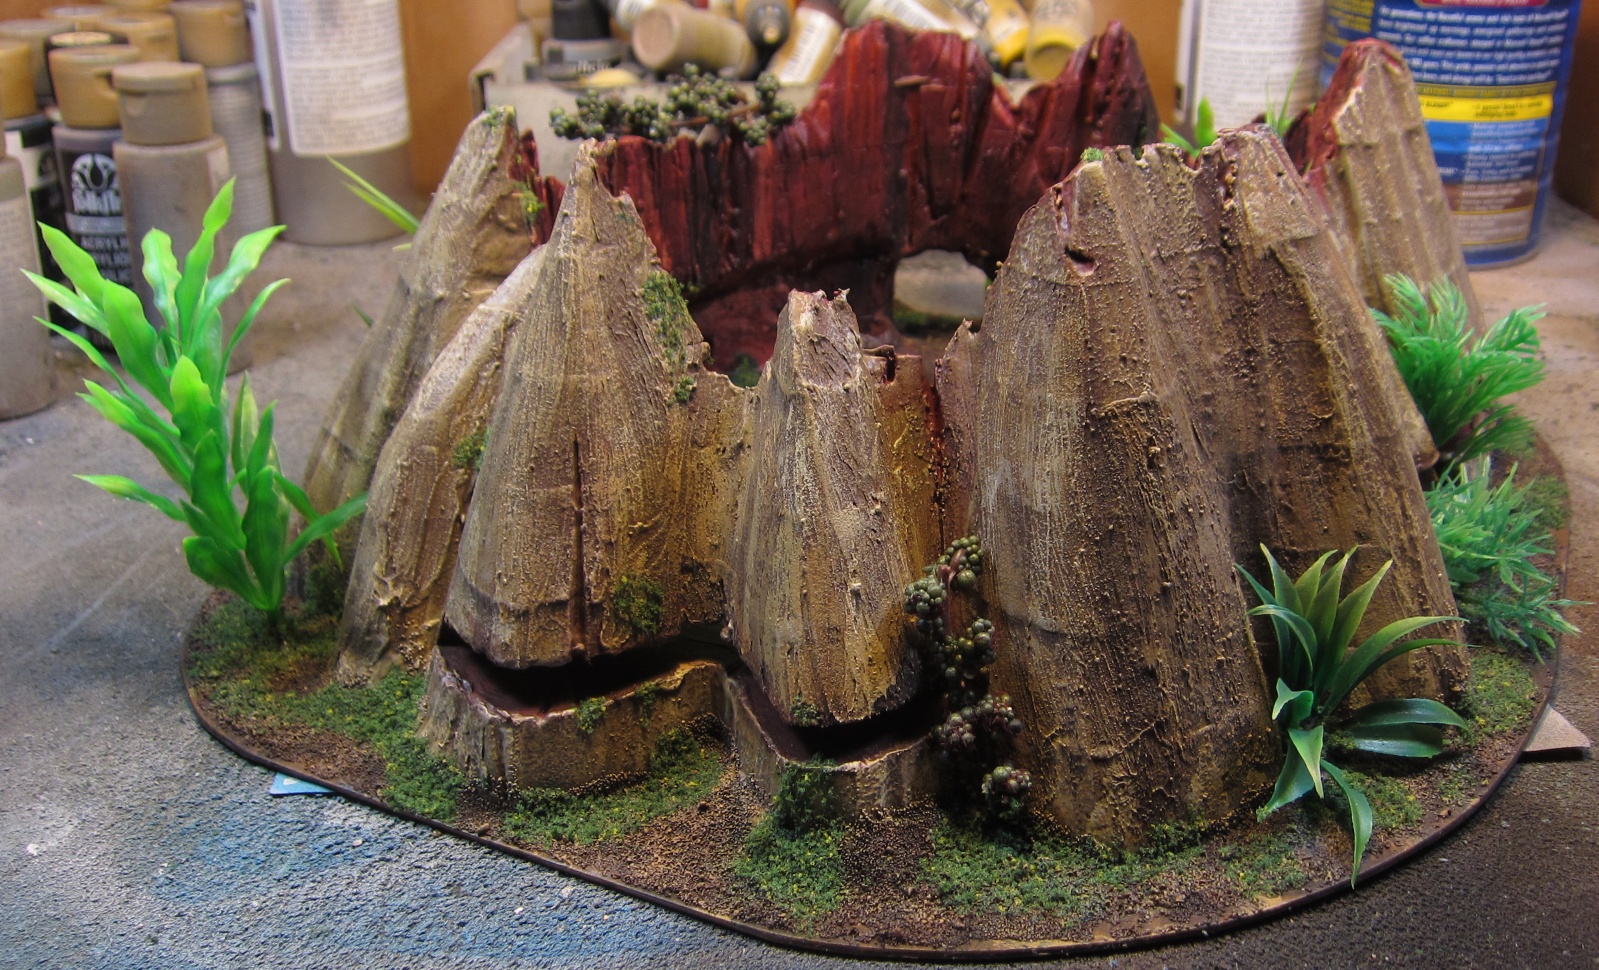
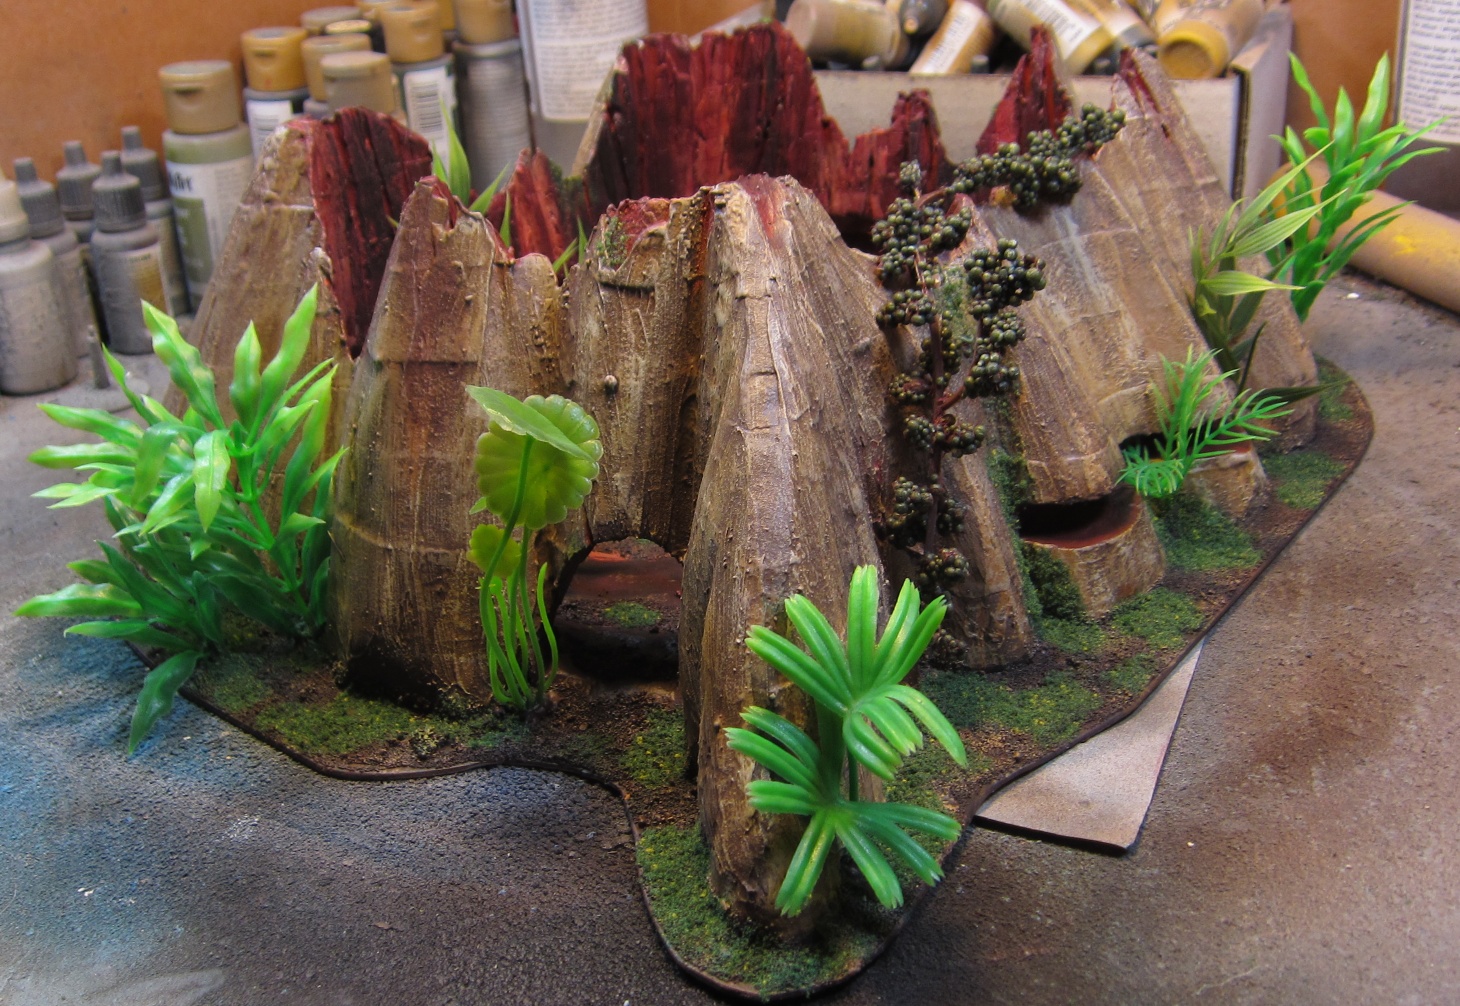
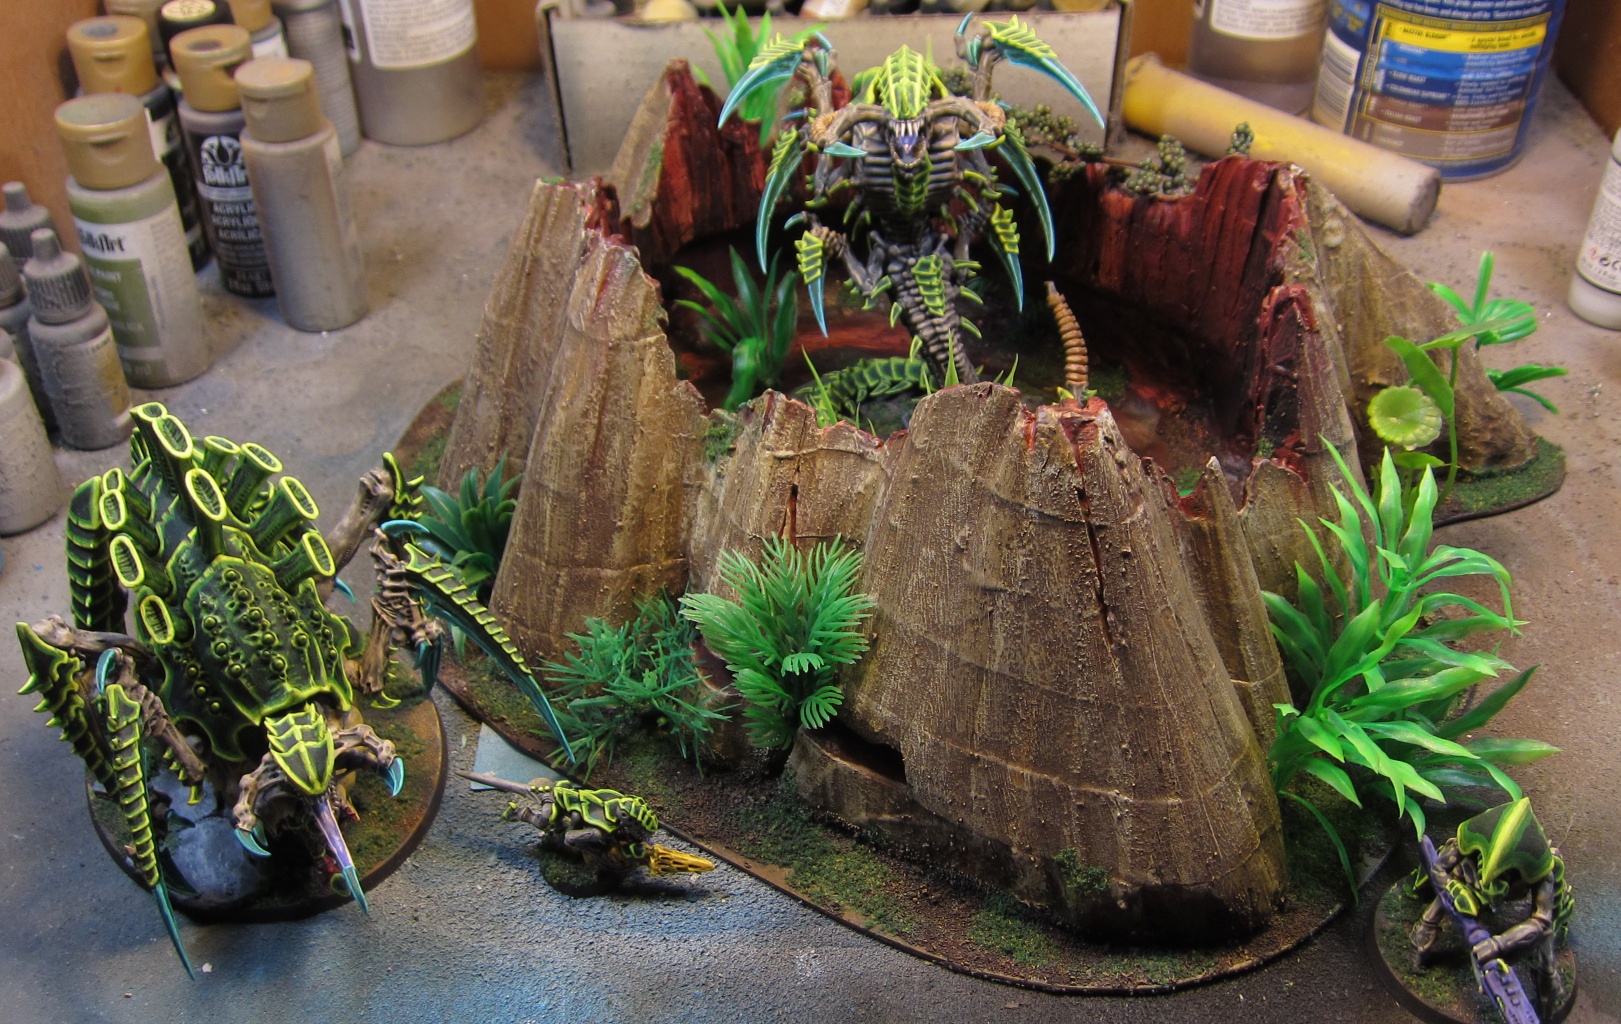
After another day of drying, I basecoated everything with my airbrush - just basic colors as I actually played a game using the pieces the next day - but using the same cheap acrylic paints I used for the rest, mixed with some windex as a thinner. After the game, I started building up the paint properly, going through several tweaks until I was satisfied. Doing the usual multi stage highlight of drybrushing for the bark and ground, but mixing and painting some colored tree rings on the base of the stump, texturing them by layering colors, and then washing over everything because the rings felt too pronounced. Then I drybrushed a redder color over the tree wood for a highlight and striped a dark brown wash around the outside for some more variation and to take attention away from the ridges made by the sliding styrofoam sheets earlier. On the rocks, I did the usual base color and two stage drybrush highlight, but I added some striping of other colors to make it look more sedimentary and more interesting. The lighter layer got a final drybrush of silver for a little sparkle (like quartz crystals) and the browner layer, while I think is the weakest part of this paintjob, got a bit of rust wash, since this was supposed to be an iron-containing layer of rock. Everything then got a nice gray wash on the rocks. The final touches was just a bit of dark green then light green stippling for a some greenery in the paint layer.


From the back (front?) From the front (back?) With some tyranids, for scale.

The final step was gluing on the usual aquarium plants for some jungle plants (green stuff on the base, then a dot of glue on it after it dries), painting the mounting point for the plant, and flocking the base with PVA and water to choose the placement. After a day drying, everything got a liberal matte varnish coat and it's ready for the table! Here's a few pictures of each including some tyranids for scale, both of these are larger pieces made to offer direct line-of-sight blocking for vehicles, and I figure I could treat the stump as a proper building with armor values (those giant ironbark trees), or as simple ruins that can fit a squad.


From the side. From another side. With some tyranids, for scale.


October 25, 2015


  • The old medpants.com

    The old medpants.com

  • Acoustic Bassoon Pickup

    Acoustic Bassoon Pickup

  • Liquid level Sensor

    Liquid Level Sensor

  • How I make my Reeds

    How I Make my Reeds

Copyright