

-
Acoustic Isolation Chamber
-

Distribution Amplifier
-
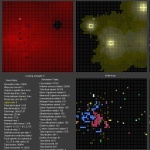
Sim Petri Dish
-
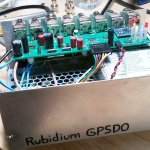
Rubidium GPSDO
